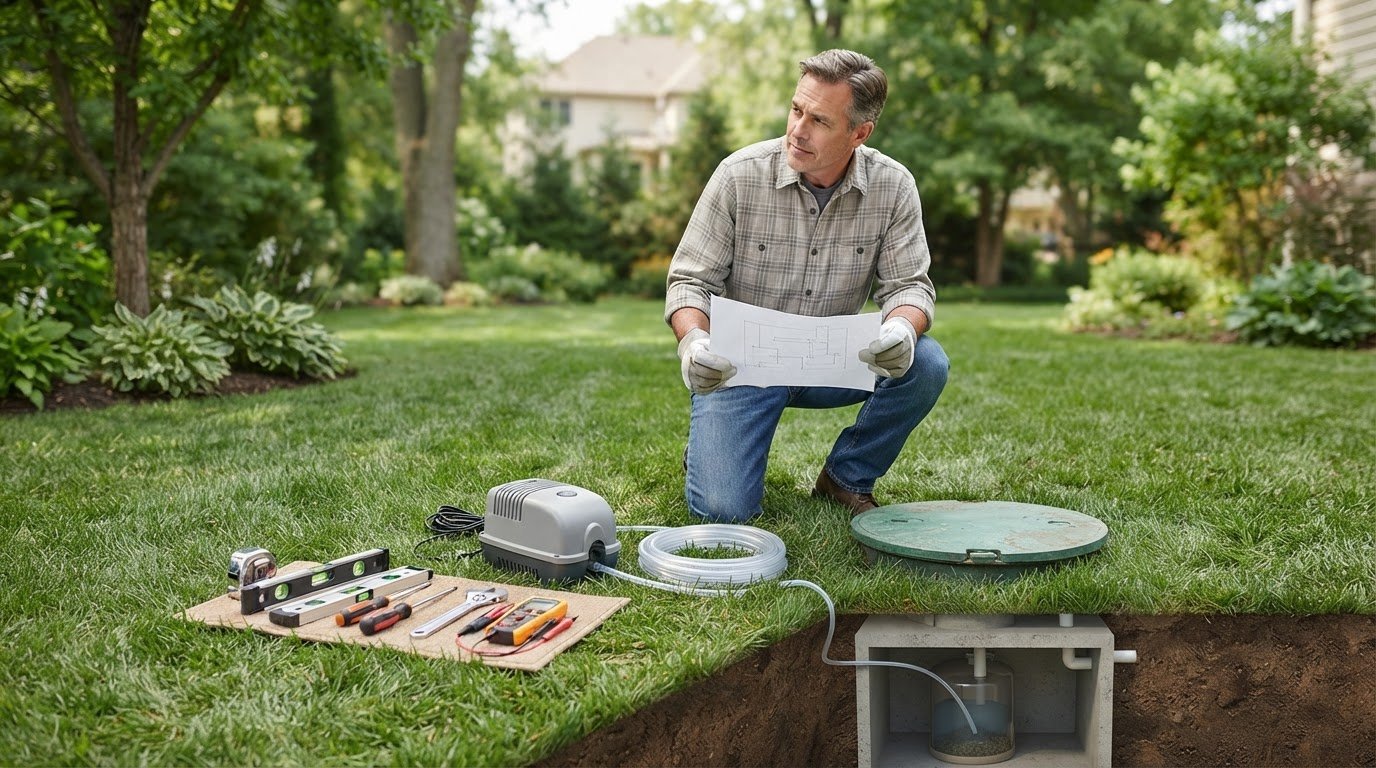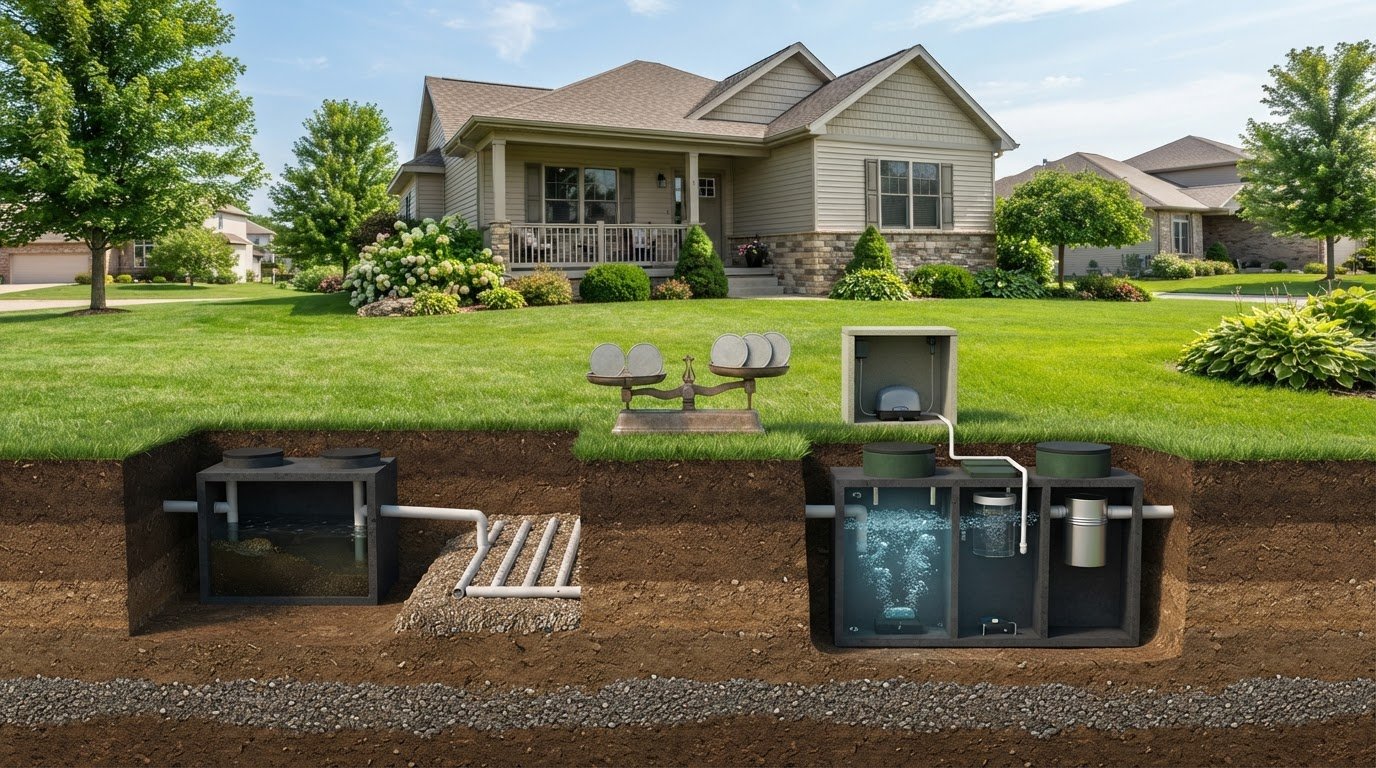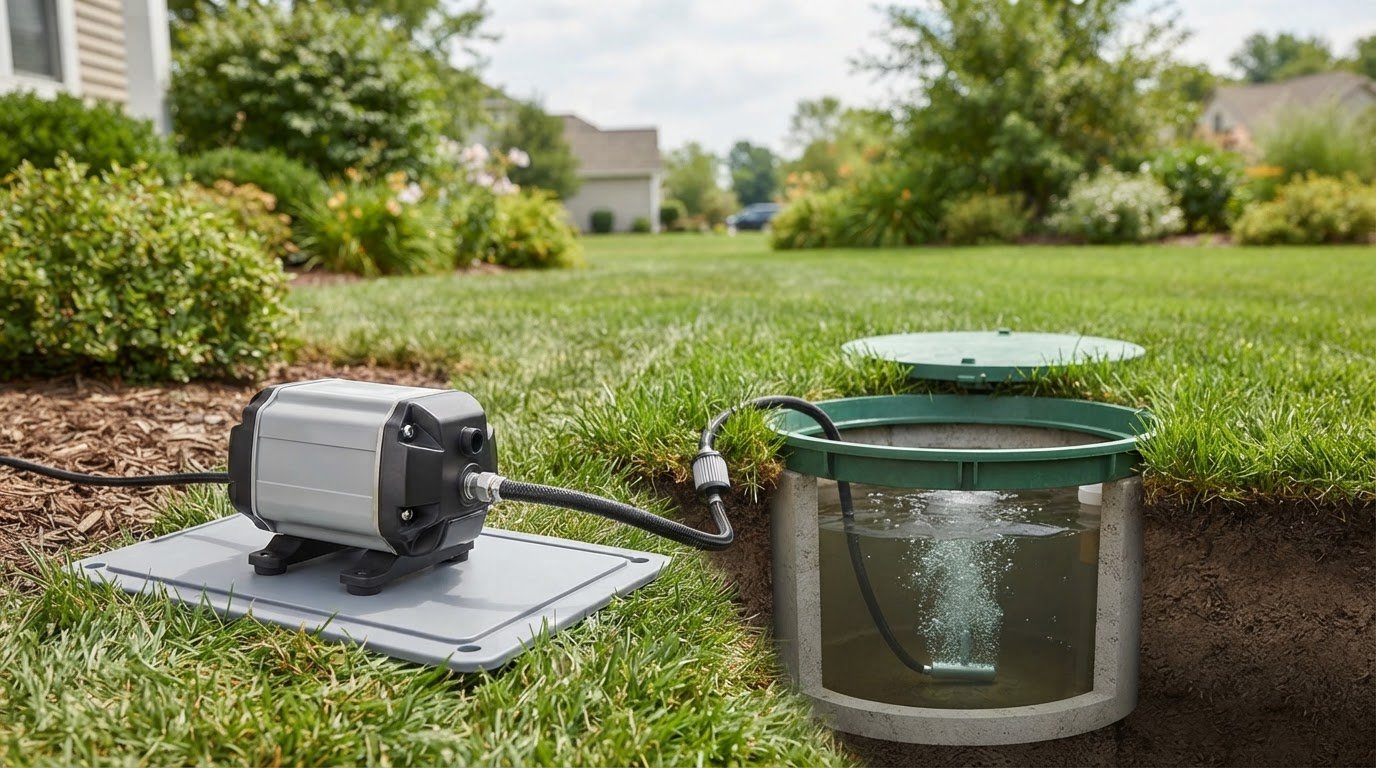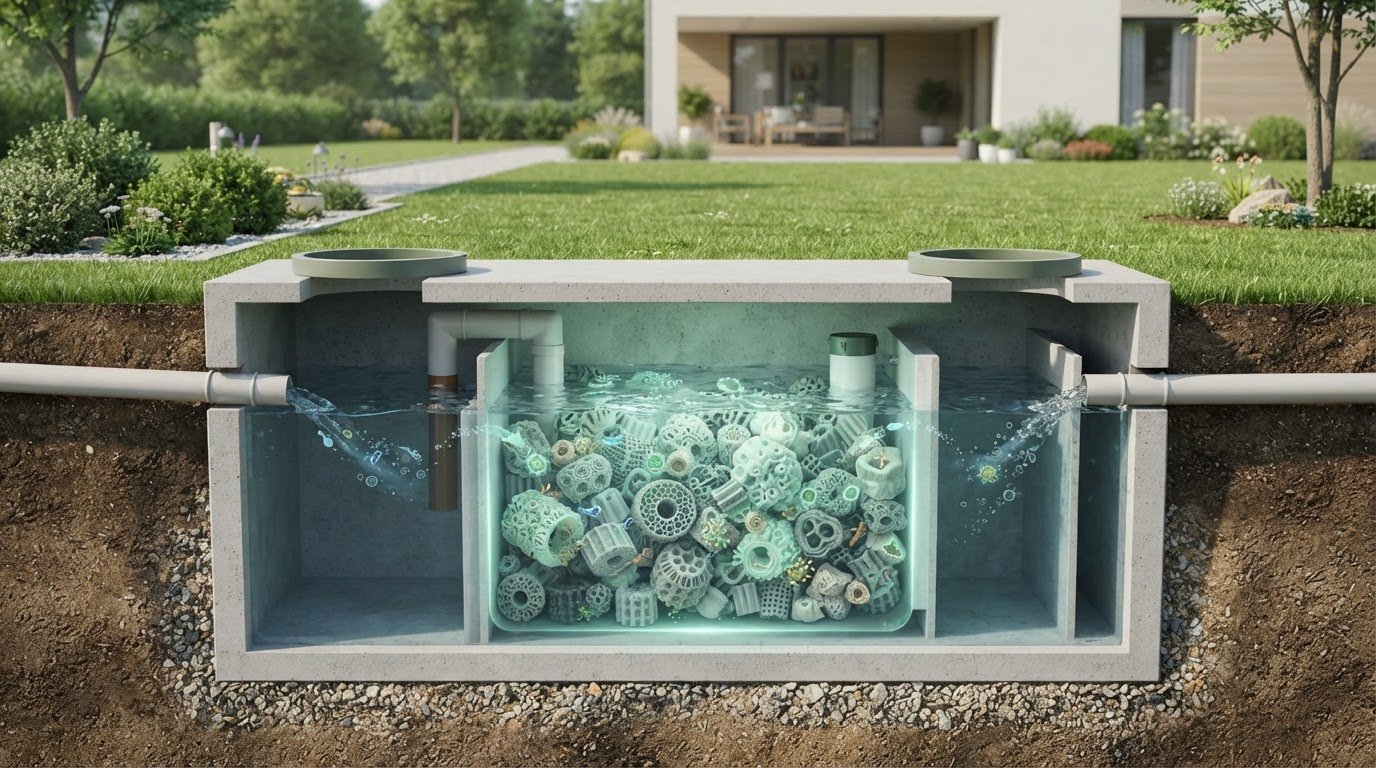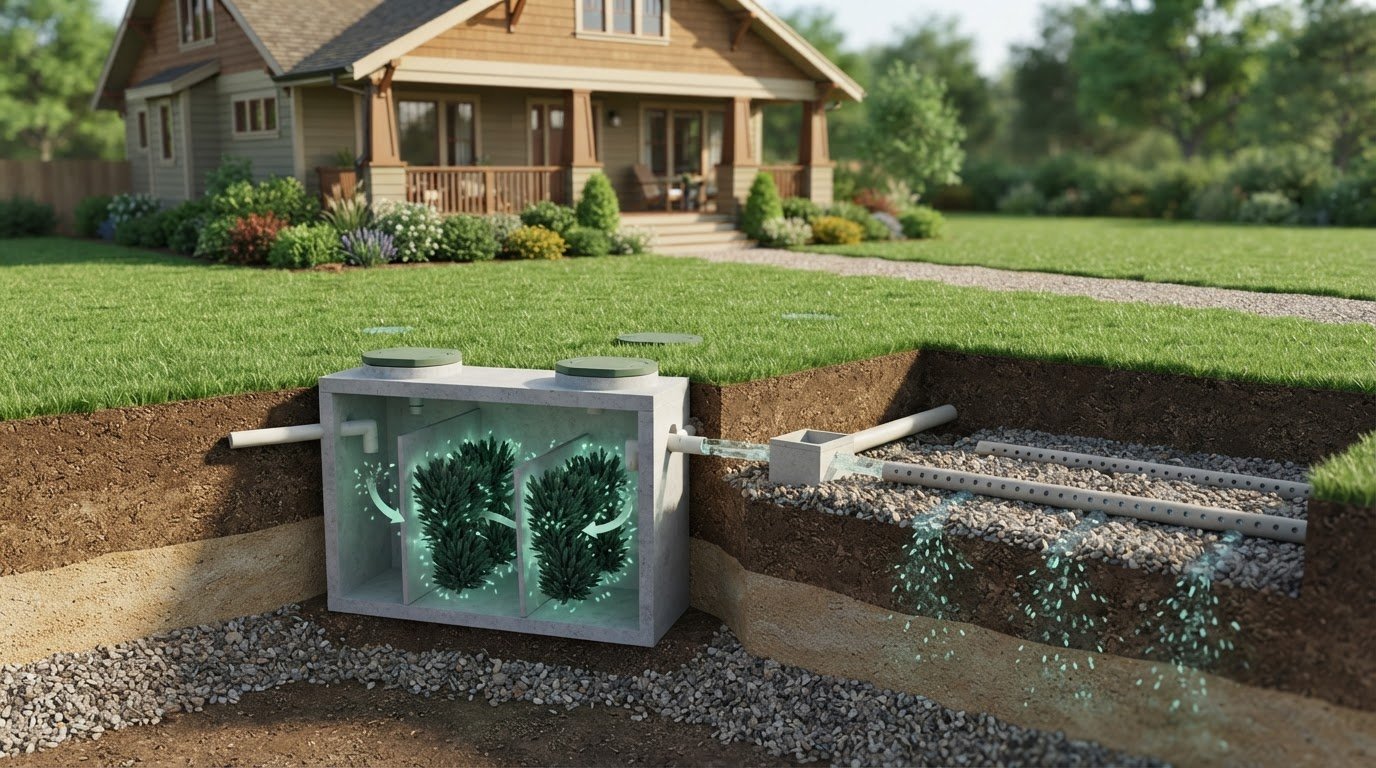

The tools needed for DIY septic aerator installation usually include a tape measure, a level, basic hand tools such as screwdrivers and wrenches, and any electrical testing equipment specified for the system. Before starting, read the installation instructions and identify the septic tank, aeration chamber, air line, power supply, and alarm components.
A long tool list won’t solve a mismatch between the blower, tank layout, and existing connections. Plan around the system you have, and make sure each component is accessible and accounted for before work begins.
This guide covers planning checks, electrical items, hand tools, and septic components to consider. It also explains why your system’s layout matters, so you can tell whether the work is a straightforward equipment task or involves changes to the system design.
Key Takeaways
- Map the existing tank, Aeration Chamber, and air-line route before deciding where equipment will go.
- Check that power connections and alarm components are intact and suited to the aerator setup.
- Use hand tools carefully, and follow the equipment instructions for any tightening or torque requirements.
- Compare the pump and system components you need as a matched setup; the right configuration depends on your septic system.
1. Installation sequencing and plan checks
Start with the system plan, not excavation. Identify the septic tank, aeration chamber, existing air line, and intended blower location. Compare the layout with the aerator’s installation instructions before choosing components. Aeration system design depends on soil conditions, home size, and local requirements. Tank capacity is also tied to projected daily wastewater flow, typically calculated from bedroom count.
What permits or codes apply to DIY septic aerator installation in the United States? Requirements depend on the project and the jurisdiction where the property is located. Before planning installation work, identify the local rules for septic system changes and the equipment being added.
Can homeowners open or modify a septic tank themselves, and what rules apply? Whether you can open or modify a tank depends on local rules and the system’s design. Don’t assume that an access point means the tank can be altered. Distinguish routine access from changes to the tank or treatment setup.
Mark the intended air-line route and blower position on a simple site sketch. Choose a blower location protected from the elements and accessible for inspection or replacement. Note obstacles that could restrict access or interfere with the route. Compare the planned equipment location with the system layout before work begins, so a placement change doesn’t leave the air line poorly routed.
Then follow a sequence based on the equipment instructions: confirm the system layout, resolve applicable permit questions, position the blower, connect the air line, and complete the specified startup checks. Keep the plan and instructions together during installation. If the proposed work changes the tank structure or treatment design, pause and reassess the project scope before proceeding. Fitting an aerator component and redesigning a septic system are different tasks.
2. Electrical and alarm components
Before connecting an air blower, inspect the power supply, wiring, plug, and alarm components. Connections should be secure and undamaged. Look for cracked insulation, loose plugs, corrosion, or moisture around electrical parts. These signs can indicate a problem that needs attention before the aerator runs. Don’t handle damaged wiring or open electrical enclosures to diagnose a fault.
Gather a flashlight for visual inspection and a label or marker to identify the blower connection and alarm wiring. A multimeter may help assess electrical conditions, but it doesn’t make live electrical work safe. Limit testing to tasks you’re qualified to perform, and follow the equipment manufacturer’s instructions. If the work involves exposed conductors, uncertain wiring, or a damaged power supply, stop and have an electrician address it.
- Power connection: Check the cord, plug, and visible connection points for wear or damage.
- Alarm components: Identify the alarm indicator and its wiring, if the system has an alarm.
- Equipment instructions: Match the connection setup to the blower’s specified requirements.
- Inspection tools: Keep a flashlight and labels handy for a clear visual check and identification.
An air blower runs continuously, so power interruptions can affect aeration. After installation, check the alarm indicator and blower operation using the manufacturer’s startup instructions. If an alarm activates, the blower stays silent, or wiring shows damage, don’t bypass the alarm or keep resetting the equipment. That can hide a fault instead of resolving it. Record what you observe, including whether the blower starts and whether the alarm changes, before arranging electrical troubleshooting.
Keep wiring connections accessible and protected from moisture as directed by the equipment instructions. Don’t route a cord where routine access to the septic tank or other components could damage it. A visual check can confirm that visible connections are intact, but it can’t establish that the whole septic system is functioning correctly.

3. Hand tools and torque control
Set out your hand tools before fitting the air line or blower connections. A screwdriver set, adjustable wrench, pliers, and socket set cover common fastening tasks. Choose a wrench that fits the nut rather than forcing an oversized tool into place. A tape measure helps you compare tubing length with the installation plan. Keep each tool clean, dry, and within reach.
Check the aerator instructions before tightening any threaded connection. If the manufacturer lists a torque value, use a torque wrench set to that value; tool and equipment suppliers such as pahrumprentals.com can provide the necessary gear if you do not already own one. If no value is listed, don’t guess or apply extra force. Over-tightening can damage threads or fittings, while a loose connection can affect the assembly. Match the tool to the fitting material and follow the written instructions.
- Screwdrivers: Use the correct tip and size for each fastener to reduce slipping.
- Wrenches and sockets: Select a close fit for nuts and fittings, then turn steadily.
- Pliers: Use them to hold compatible parts; avoid crushing tubing or soft fittings.
- Torque wrench: Use one only when the equipment instructions give a torque specification.
Work in sequence. First, confirm that the air line and fittings match the aerator instructions. Seat each connection as directed, then tighten it with the specified tool. For example, a screwdriver should turn a matching screw head without rocking or slipping. A wrench should grip the nut without pinching nearby tubing. Stop if a fitting resists, cross-threads, or shows damage.
Don’t use force to make an ill-fitting part work. Before startup, visually inspect every connection you handled and confirm that fasteners are secure as directed. Keep a small parts tray nearby for screws, clamps, and washers removed during assembly. This helps prevent misplaced hardware and makes it easier to spot a missing component before the aerator runs.
4. How much does a septic aerator pump and installation materials cost?
The total cost depends on the pump type, the system it must serve, and the parts needed for a compatible installation. Estimate the pump separately from any additional materials or electrical work. A pump selected without matching its operating requirements to the septic system may not suit the planned setup.
Start by defining the scope. Replacing an existing blower differs from adding aeration equipment to a system without it. For a replacement, compare the current unit’s specifications and connections with those of the new unit. For a new setup, account for the components and electrical arrangements required by the equipment instructions. The tank configuration and intended aeration method determine what belongs in the estimate.
Prepare a written cost worksheet before ordering. List the pump, connection parts, any electrical work, and materials required by the installation instructions separately. Mark existing components as reusable only after checking their condition and compatibility. If a fitting or connection needs to change, include it rather than assuming it will match the new equipment.
- Pump selection: Compare the required operating specifications with the system design.
- Compatibility: Include parts needed to connect the selected unit to existing equipment.
- Installation scope: Distinguish a direct replacement from adding aeration components.
- Electrical needs: Account for any work required to make the power connection suitable.
Review the worksheet against the equipment instructions before buying. A lower pump price may not reflect the full project cost if compatible components or electrical work are also required. Conversely, don’t replace usable parts without a reason. A useful estimate reflects your system’s configuration, required equipment, and installation scope, not a generic parts list.
Aero-Stream: Eco-Nest™ NSF/ANSI 40 Systems
Aero-Stream offers Eco-Nest™ NSF/ANSI 40 Systems and Residential Remediator® Kits for septic system restoration and maintenance. If your plan points beyond replacing an air blower, these options may better fit a system-level need. Bio-Brush® and Septic Tank Air Pumps are also available as system components. Match any equipment to your tank layout and the manufacturer’s instructions before proceeding; a pump or tool change alone won’t address every treatment concern. Choose the product category based on the work your system requires, whether that means an aeration component or a broader remediation approach. For information about available options, contact Aero-Stream or visit aero-stream.com.
Choose the Right Next Step for Your Septic System
A DIY aerator project is also a chance to decide whether a component replacement addresses the problem or whether the system needs a broader treatment solution. Use the tools needed for DIY septic aerator installation only after the equipment choice fits your system layout and intended work. If the issue goes beyond fitting a pump, Aero-Stream offers Eco-Nest™ NSF/ANSI 40 Systems, Residential Remediator® Kits, and Bio-Brush® as options for septic system treatment and maintenance.
Match your next step to the system’s needs, not just the easiest part to replace. Explore the available options or contact Aero-Stream for septic support. A careful choice now can help you move forward with greater clarity and confidence.
Frequently Asked Questions
What tools are needed to install a DIY septic aerator?
The exact tools depend on the aerator model and its fasteners. Use the installation guide’s parts list to identify the required driver bits, wrench or socket sizes, and measuring tools. Compare the list with the supplied hardware before starting. Don’t force a fastener with an ill-fitting tool or improvise for tasks involving live wiring or changes to tank structure.
What materials and fittings are required for septic tank aerator installation?
Materials depend on the aerator and connection layout. Eco-Nest™ kits include a 20-foot airline, with extensions available in 25-, 50-, and 100-foot lengths. These details can help you plan for an airline that needs additional reach. Confirm that fittings match the selected equipment, and base your materials list on the product instructions rather than assuming every aerator uses identical connections.
How do you install an aerator in an existing septic tank step by step?
Use the installation guide for your exact aerator model, since a universal procedure could miss model-specific requirements. Before beginning, match the model information on the equipment to the guide. Follow the instructions in order, then record the completed work and startup observations. Keep that record with your septic system documents to help identify the installed equipment during future maintenance or troubleshooting.
What electrical tools and supplies are needed to wire a septic aerator safely?
Electrical requirements depend on the blower’s specifications, so don’t choose wiring supplies from a generic list. Distinguish the blower’s power connection from an alarm’s power source. For example, Eco-Nest™ systems include a battery-operated Aero-Alert™ alarm. Its battery powers the alarm, not the aerator blower. Use the product instructions to identify each component’s power needs and don’t treat them as interchangeable.
How can you tell whether a septic system is designed for aeration before installing an aerator?
Check the system’s equipment records for a model number or treatment-system description that identifies aeration equipment. Compare those details with the proposed aerator’s intended use. A control panel or alarm alone doesn’t show that the tank was designed for aeration; those components can serve different purposes. If the records don’t identify the system, don’t rely on symptoms alone to judge compatibility.